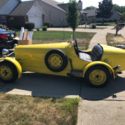
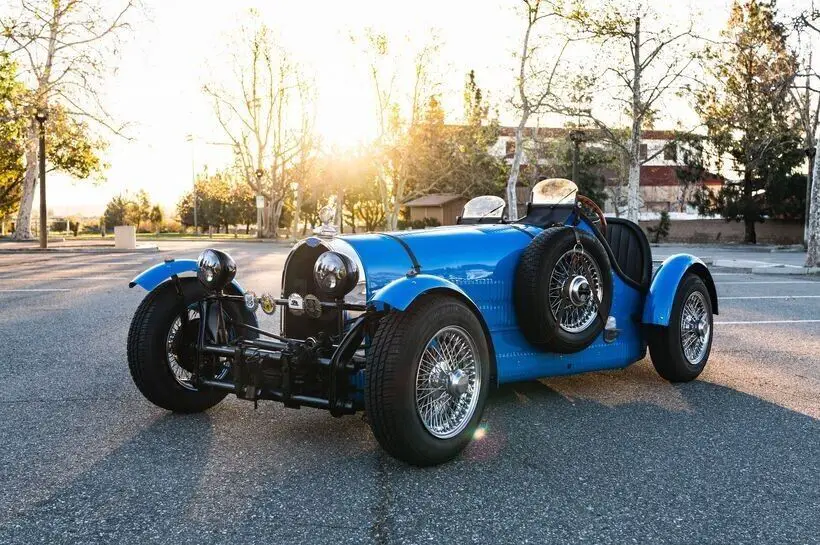
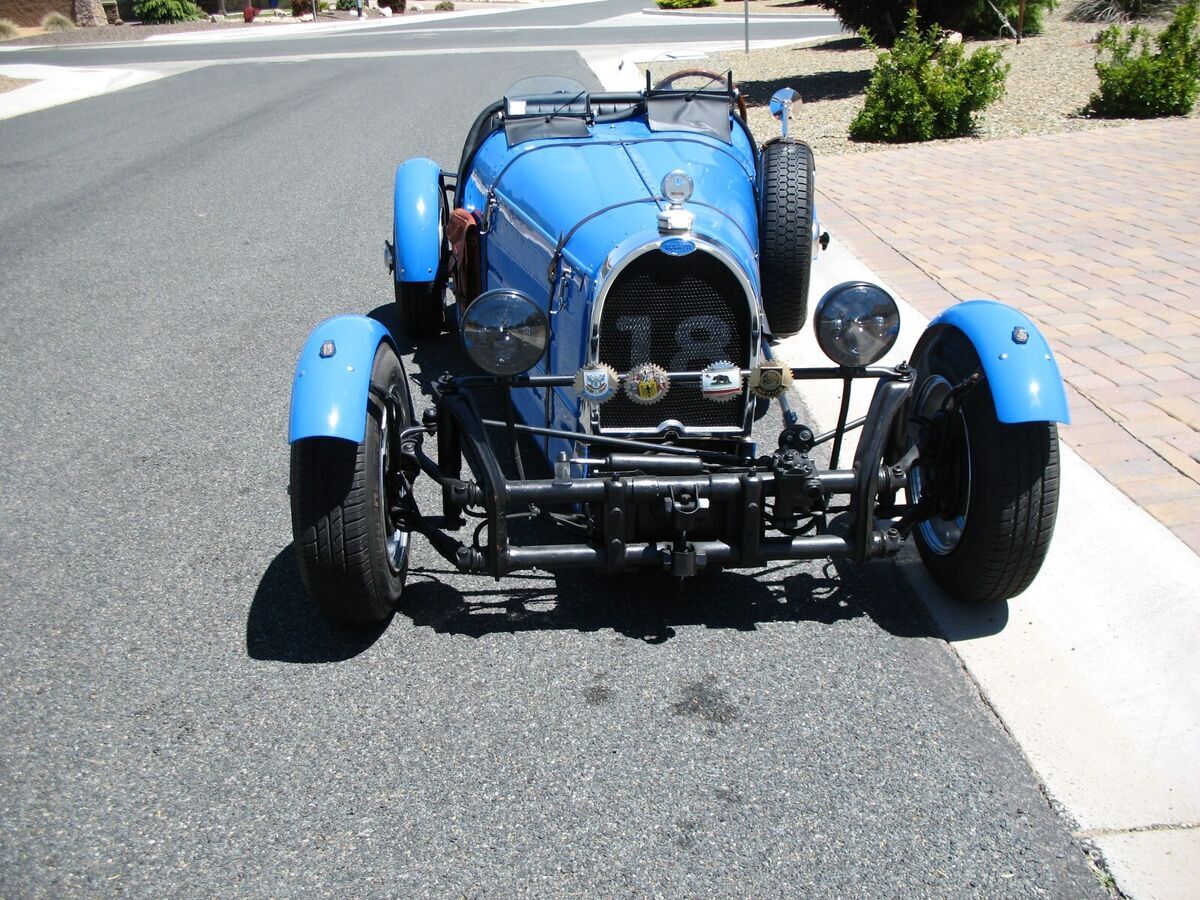
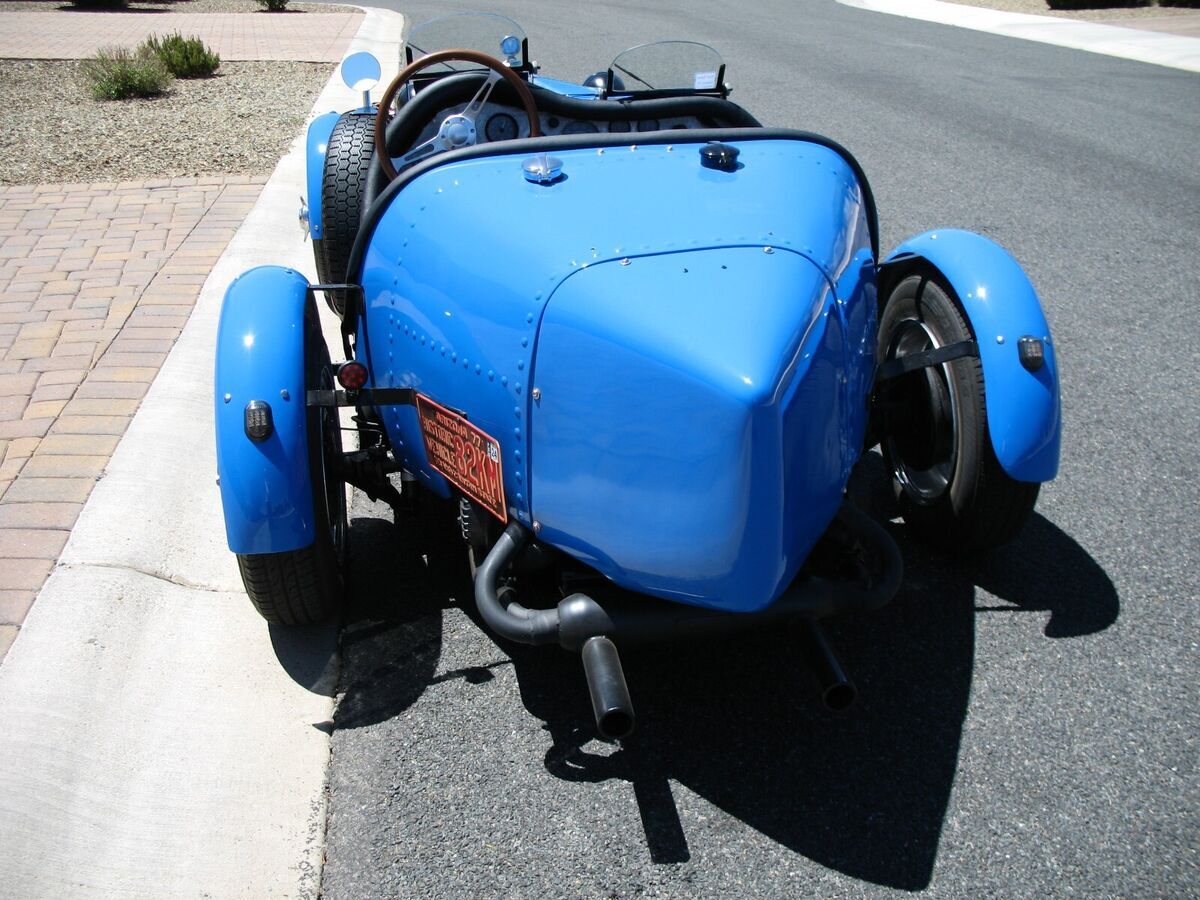
1925 Bugatti Type 35 Awesome driver, restored.


| Make: | Bugatti |
| Model: | 1925 T-35 Replica |
| Type: | Roadster |
| Trim: | Grand Prix Oldtimer |
| Doors: | None |
| Year: | 1968 |
| Mileage: | 33340 |
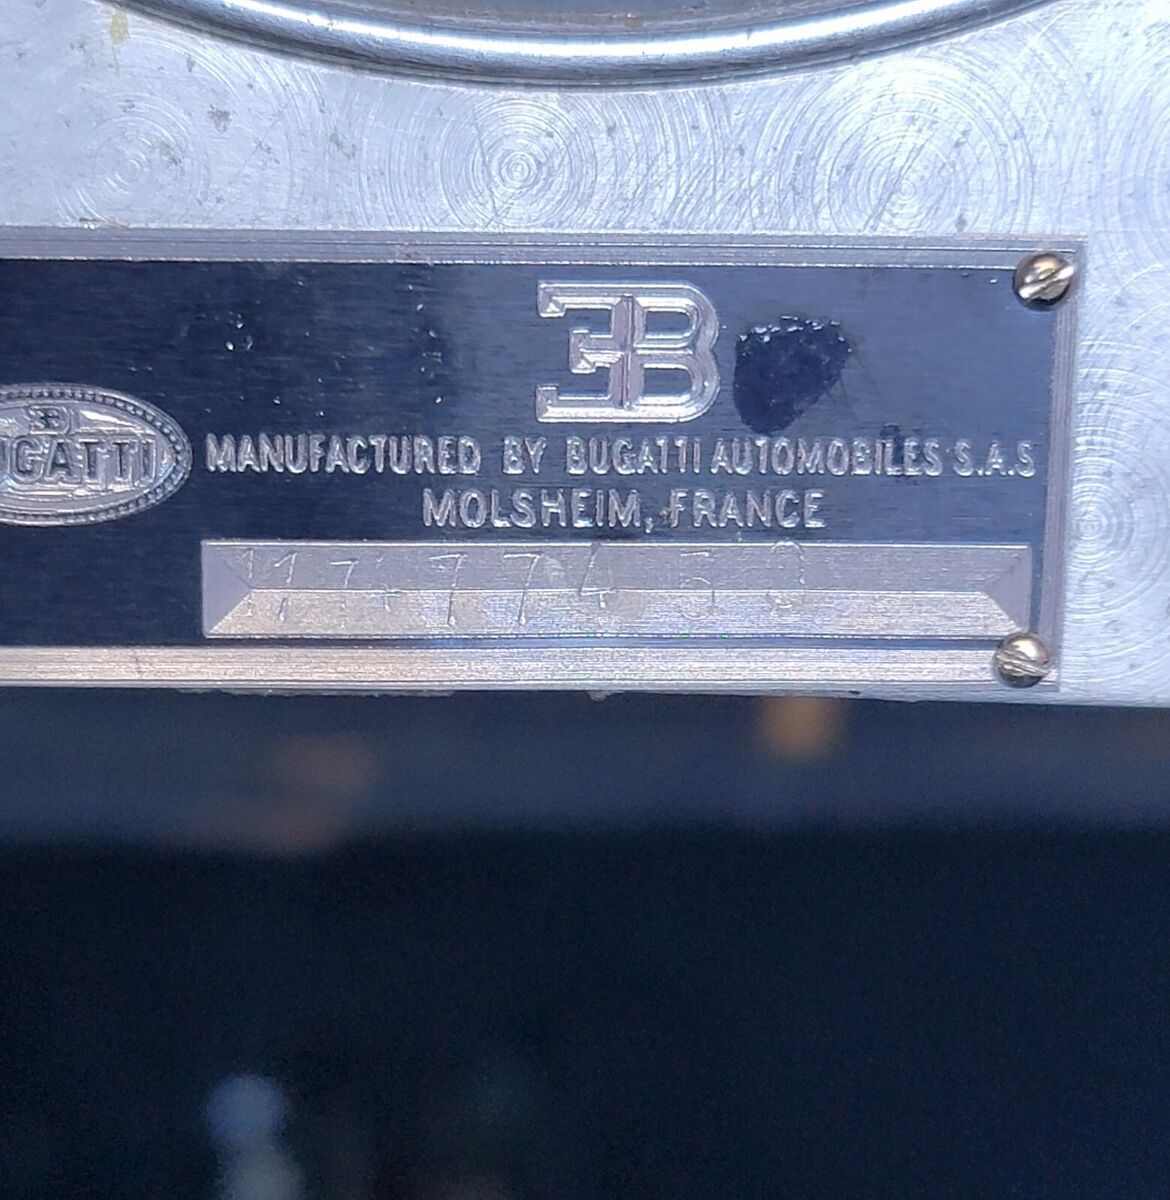
| VIN: | 117477450 |
| Color: | Blue |
| Engine: | Rear Air Cooled 4 Cylinder VW |
| Cylinders: | 4 |
| Fuel: | Gasoline |
| Transmission: | 4 speed manual |
| Drive type: | RWD |
| Interior color: | Black |
| Drive side: | Left-Hand Drive |
| Vehicle Title: | Clean |
| Item location: | Prescott Valley, Arizona, United States |
1968 Bugatti 1925 T-35 Replica Grand Prix Oldtimer Additional Info:
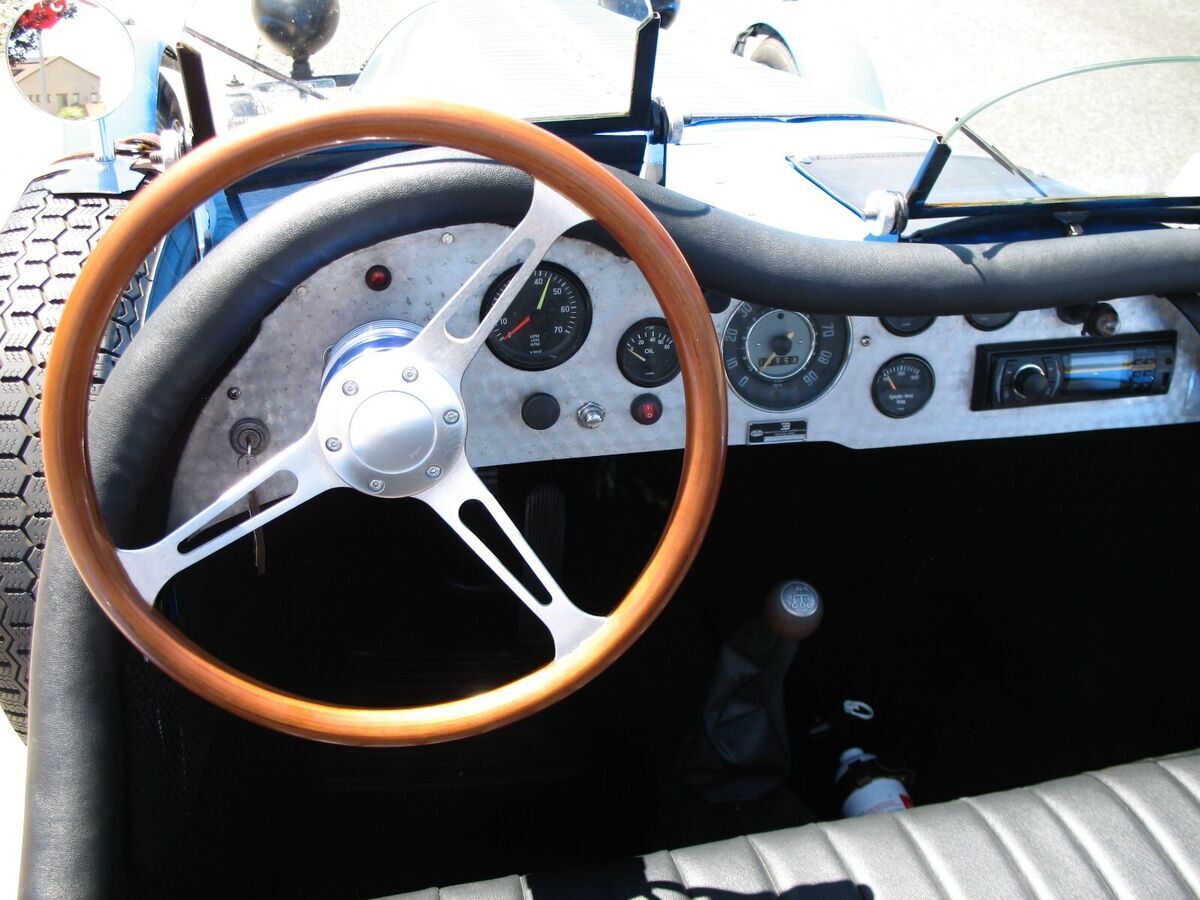
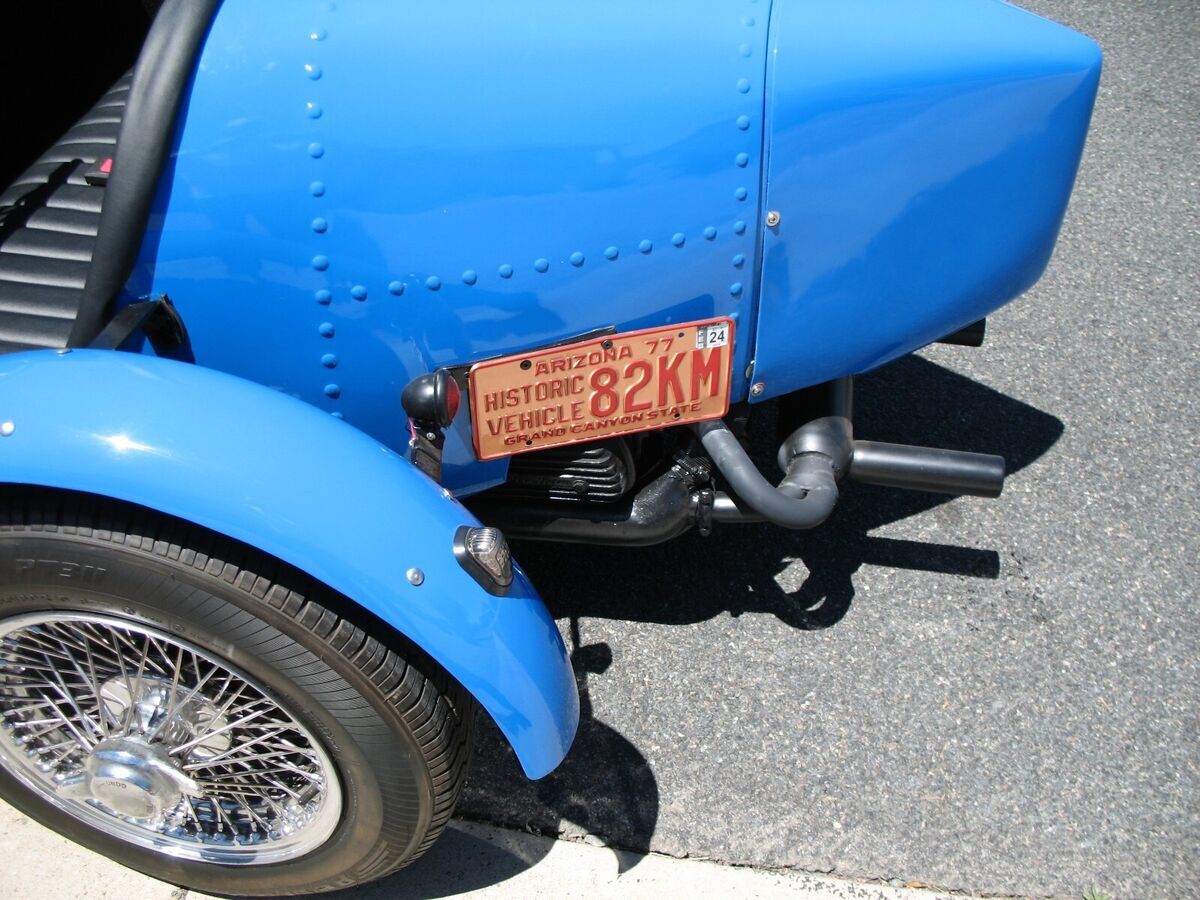
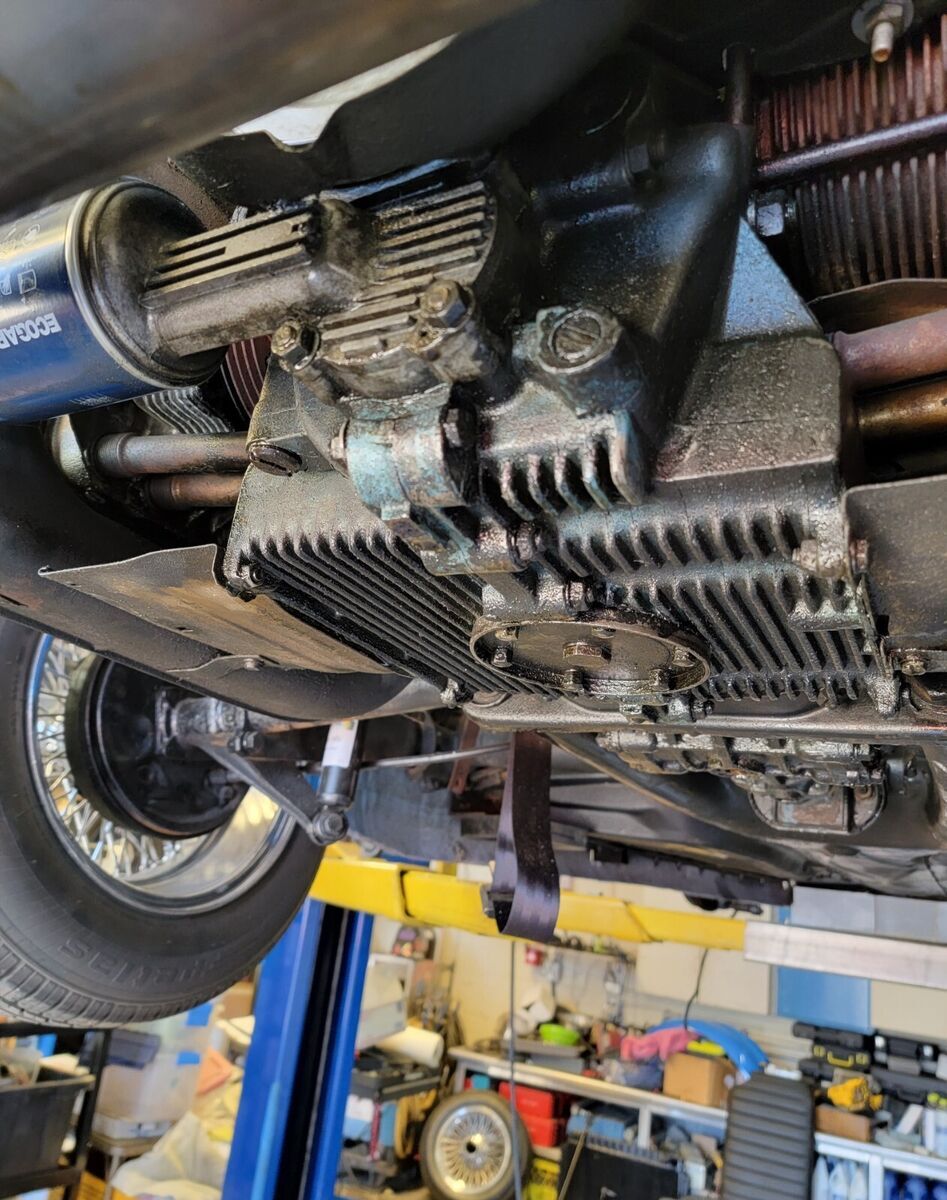
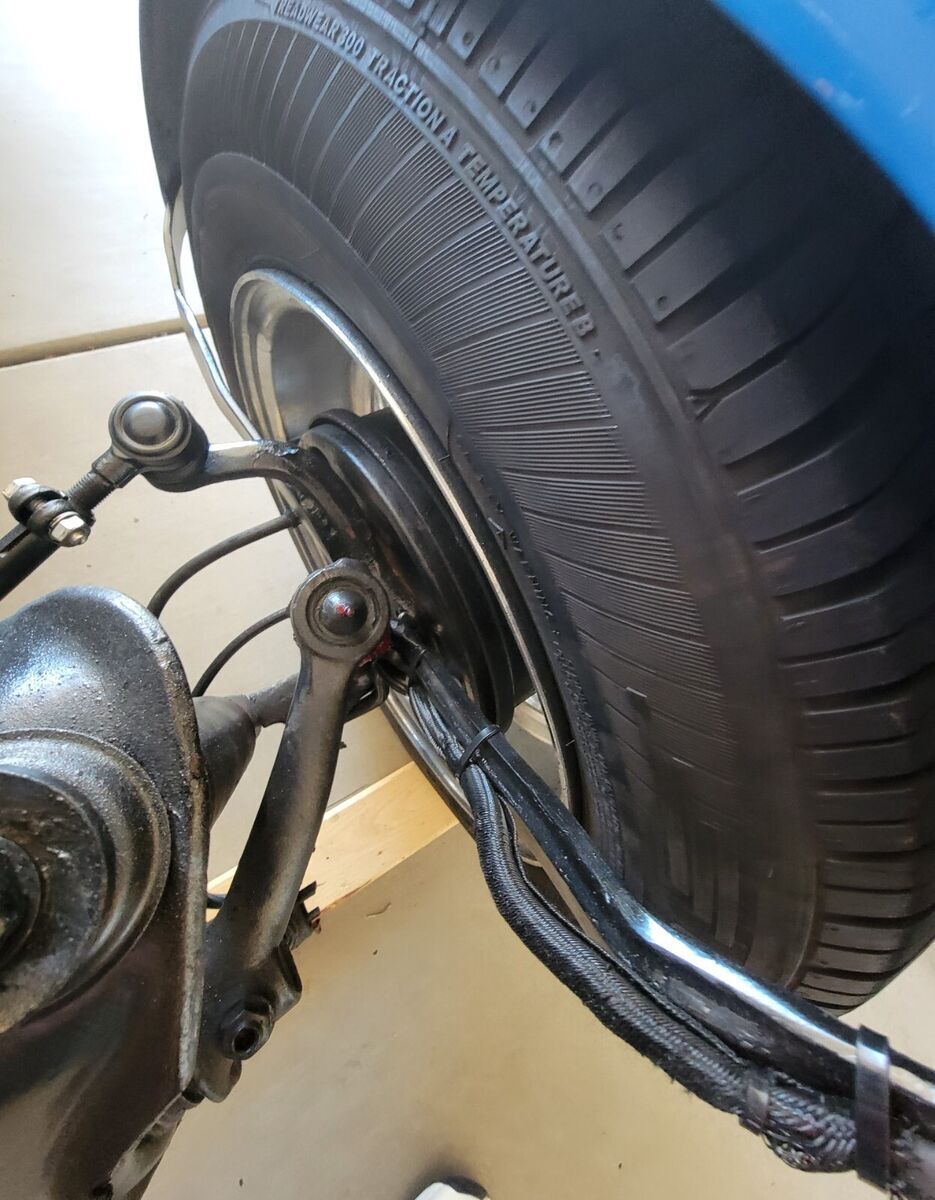
A brief history of the T-35 Kit car. The car was purchased online as it was a great car for cars and coffee, as well as local car shows. The owner (builder) assured me it was perfect, so I purchased it. The realization is most builders of kit cars are not auto mechanics and driving it really became apparent that it looked great but needed much work to make a safe, mechanically reliable car to drive. I took the car to a shop that always works on my antique cars, you will find a detailed account of what the shop encountered and what was installed. If you have a real interest in the car, please take the time to read what was done to it. Over $5,000.00 was spent ensuring that the car would run, steer, and stop safely, as well as many upgrades. The donner car is a 1968 VW; the kit is licensed by Bugatti Automobiles Molsheim France. The car comes with 4 hubs to mount steel wheels, as well as four new tire inner tubes (Bladders) for the wire wheels that are presently installed. I installed a modern radio, hidden antenna, and hidden speakers, in keeping with the 1925 race car and cockpit look. New chrome spare tire mounted chrome sideview mirror as well as a larger rearview center mounted mirror that has a quick dismount for show display. I am getting up at age (83) and have decided to sell this vehicle, I would be happy to answer any questions a prospective buyer might have.The older I get the more I realize you get what you paid for.BMP FABRICATIONS RACECARS • HOT RODS • CUSTOMS •Classic E. VALLEY ROAD PRESCOTT VALLEY,Tom Restifo: Bugatti Boatail replica Kit car repairs.4-26-2023The Vehicle came with a list of items to repair. (Front fender mounting, electrical issues/ dash instruments, engine dies, shifter problems, steering shaft flex and noises, brakes.) As I first started to evaluate the list of concerns, it became apparent that the vehicle was not constructed utilizing standard automotive construction criteria. The kit is based on a 1968 VW bug chassis. The interior assembly utilized plywood pieces that were screwed together and installed as the construction proceeded. This process yielded a decent looking finished product but did not consider any future maintenance or repair. In order to gain access to the brake system and electrical components, it was necessary to remove carpet that had been glued to wood panels, un-screw panels, cut down panels to allow removal from the tapered body, and cut a panel in half to remove it. Once this was completed, I was able to inspect the areas of concern. One thing to consider with this kit application is that the driver's location has been moved back to where the rear seat is in the original bug. Evaluation of the parking brake revealed that one of the cables was broken and the handle had been mounted facing backwards. It was decided not to pursue this any further at this time. Testing of the brake system revealed a defective master cylinder. The reservoir was also incorrect and not properly mounted. A new master, reservoir, and hoses were installed, and the system was bled. The steering was the next area of concern. The column utilized was made of thin wall 7/8" tubing that was over 6 foot long. It had no bearing installed at the steering wheel hub, and no intermediate support. The flexible joint at the steering box was split and the bolts were left loose. Since the driver moved so far back, the angle for the shaft coming out of the steering box was too severe for proper steering shaft attachment. (Probably explains the need to leave the steering joint bolts loose.) The steering box was removed, and the locating notch was modified to change the steering box shaft angle to align with the column. The box was installed and tightened down. A new steering joint was purchased and installed. A 1"d/d coupler was welded to the joint adapter, drilled for shaft attachment and installed. A new¾" solid steering shaft was made. A hub adapter flange was made and welded to the shaft, the lower end was machined for a¾ d/d coupler, and the end was drilled for attachment at the steering box. The dash was reworked to accommodate a flange mount support bearing. Another bracket was made that utilizes a¾" spherical support bearing and was installed halfway down the shaft. The steering shaft and components were then installed and tested. Cycling the steering revealed that three of the four tie rod ends were completely worn out. All four of the tie rod ends were replaced. The next item to address was the shifter. The seat and base were removed, and the shift handle and flange mount disassembled. The transmission coupler was removed, and the shift shaft was removed from the tunnel. The shift shaft bushing and retaining clip were missing. The shaft had been shortened and welded for the new shifter location. The welds on the shaft did not allow a new bushing to be installed. The welds were refinished and buffed, a new bushing and clip were installed, and the shaft was assembled into the tunnel. The shift flange and reverse lock out plate were installed and adjusted. The boat tail cover was removed to allow access to the engine. The oil was drained, and the sump plate and screen were removed. A new screen was installed, and the sump resealed. The full flow filter was replaced, and the oil was filled. The distributor was removed and a Pertronix module was installed. The coil was replaced, and the coil wires were re¬ terminated with soldered connections. The air filter was removed, and the carburetor was evaluated. The choke cable was bound up and the mechanism on the carb was tight. This is a Zenith carburetor and is over 60 years old. It was a very good carburetor in its day, but parts availability is now a problem. The accelerator pump is working, and I was able to clear the jets. With the new ignition system, setting the timing, and some carburetor adjustments, the engine starts and runs well. Access to the spark plugs would require removing the rear of the body, so no further effort was made on the engine. The oil pressure gauge was not working. It was determined that both the sender and the gauge were defective. The gauge was 70 lb. unit and was obsoleted over 30 years ago. The replacement gauge is 80 lb. unit but has also been obsoleted. In trying to match the other instruments, we were able to locate a used 80 lb. sender and gauge. They were installed and wired. I also rewired the red light above the steering wheel to become an oil pressure warning light. The tachometer was also wired up and is now working. The amp meter and temperature gauge are installed in the dash but appear to have never been wired up. The old radio was removed, and the dash face was cut out to accommodate a single stack radio unit. The unit you supplied was installed and wired. Holes were drilled for a pair of 3 ½" round speakers in the front under dash panel. The speakers were installed and wired, and the radio was tested. Several other wires and connectors were repaired and rewired. It should be noted that I did not rewire the vehicle, only reroute, and terminate items utilizing the existing wiring. Currently, the following items are operating Brake light (1), turn signals (front and rear, left and right) head light (low beam), horn, oil pressure gauge and light, tachometer, radio, courtesy light, starter, ignition system, and charging system. The speedometer cable was broken off at the front spindle and there was no cable in the sleeve going to the speedometer unit. The stock cable for a 68 VW bug is only @4 foot long. I was able to locate a cable from a later model transporter that reaches the unit and install it.The front fenders and mounting were next to be addressed. The right fender mount was completely off the car, and the left mount was flopping in and out and rubbing against the tire. The mounting method for the fenders utilized a longer front backing plate bolt with a spacer and nut and some poor welding, and the rear fastener used a longer bolt that also holds the wheel cylinder in place. The right fender that was off had no fastener holding the wheel cylinder in place. The problem with this location is the torque generated by the fenders and mounts causes the small non hardened 8mm bolt to stretch and come loose. The fender mounts were removed, and a new set would be built using the spindle as a positive mounting location for both the upper and rear support arms. Since the arc of the fenders is a different radius than the fenders, I mocked a fender in position and had you approved the location. After that, new brackets were fabricated and welded into position. They were then painted, the fenders were bolted back on, and the turn signal wires were hooked up and tested. The front brakes were inspected and needed repair. The drums were sent out for machining, the wheel cylinders appear to have been replaced and are in undamaged shape, new brake shoes were installed, the wheel bearings were cleaned, inspected, and packed. The brake fluid was flushed. The incorrect backing plate mounting bolts were cut off and extracted. Replacement bolts were installed, and the front brakes were assembled and adjusted. The knock off wheel adapters were installed and the wire wheels put on.