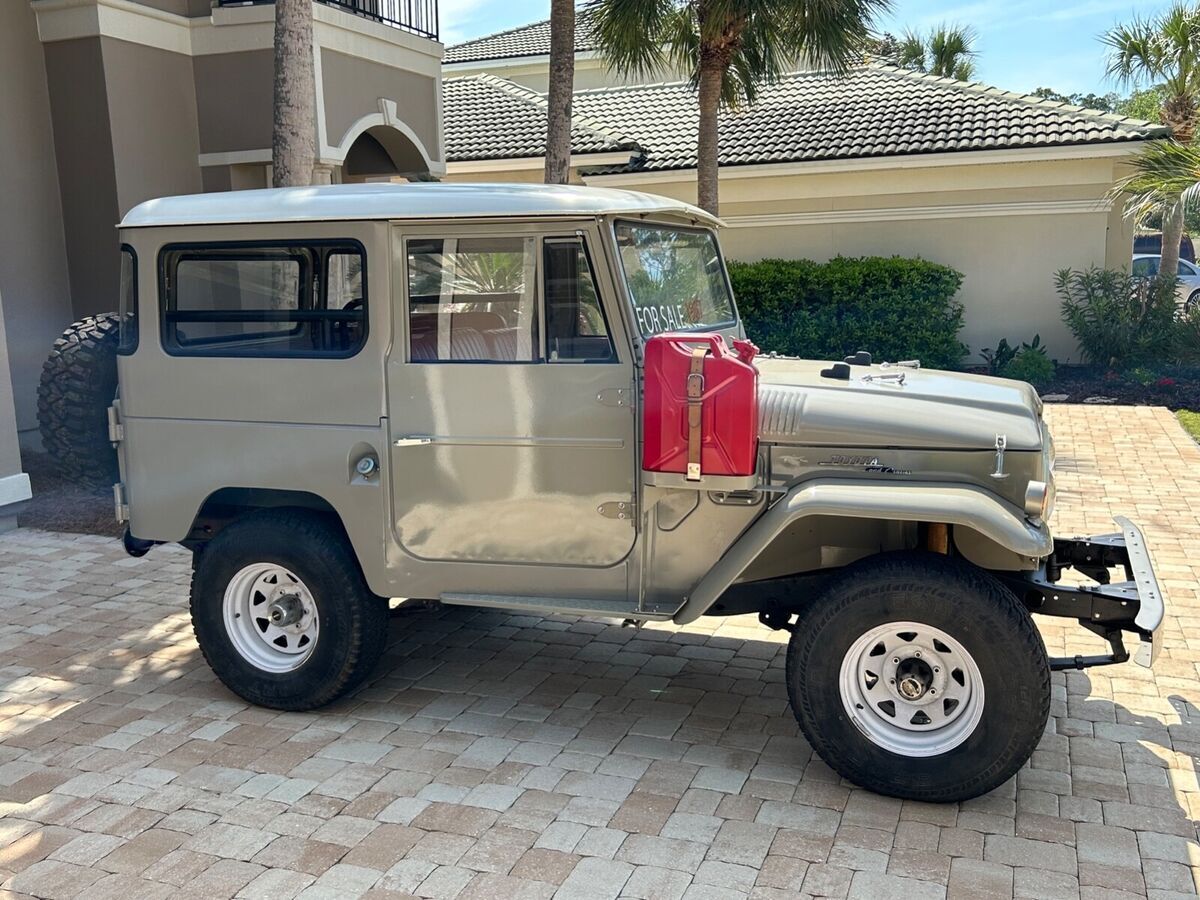
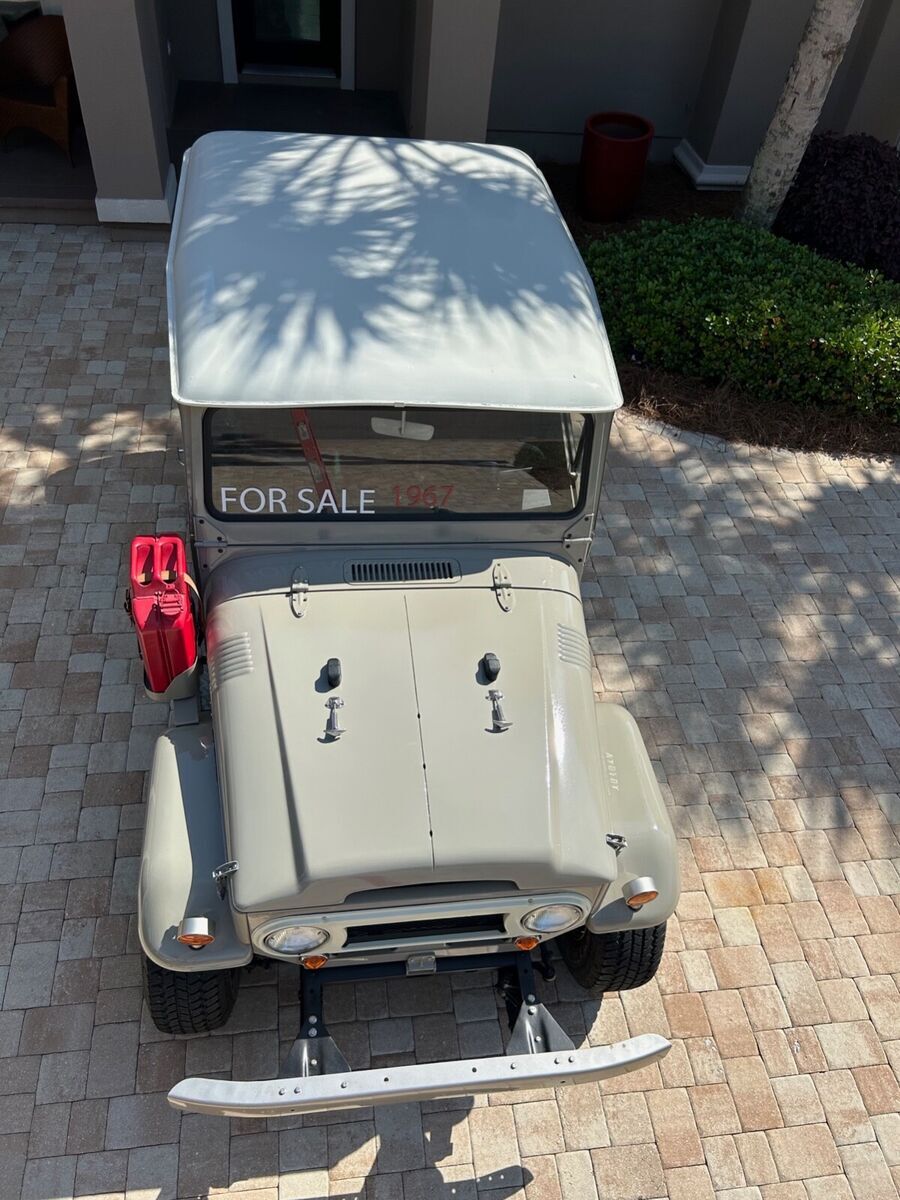
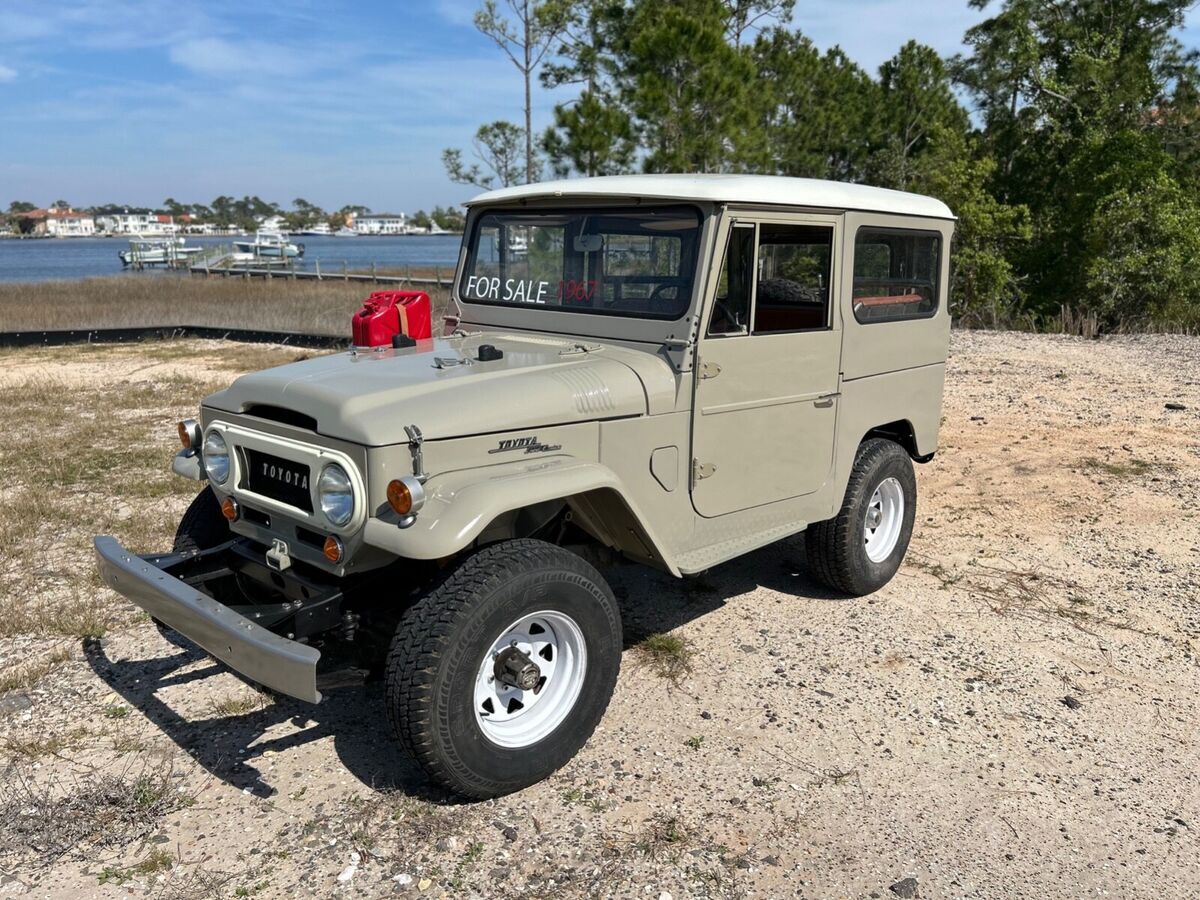
1967 FJ40 Toyota Landcruiser; Exhaustive Frame-Off Retoration; A Retro Classic!

| Make: | Toyota |
| Model: | Land Cruiser |
| Type: | SUV |
| Doors: | 2 |
| Year: | 1967 |
| Mileage: | 33453 |
| Color: | Dune Beige |
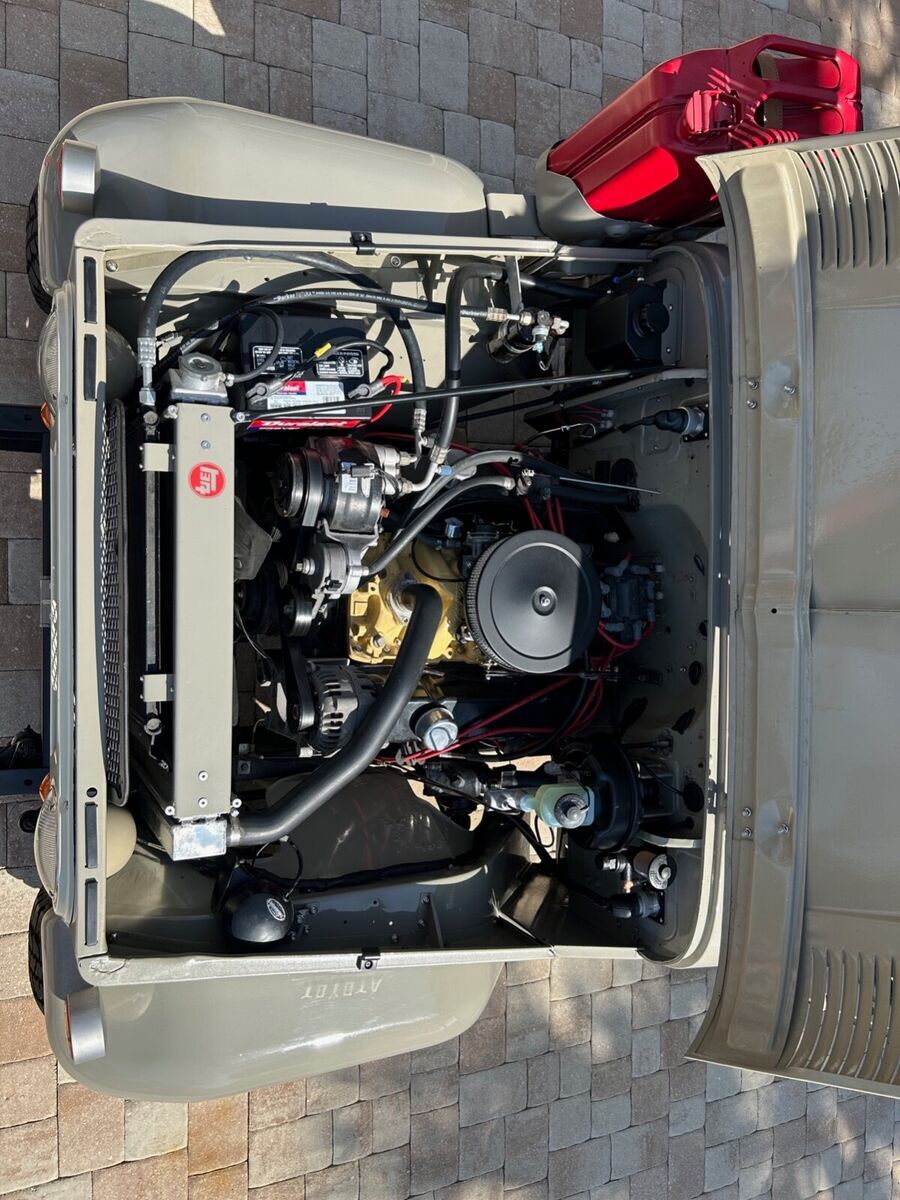
| Engine: | Chevrolet 5.0L |
| Cylinders: | 8 |
| Fuel: | Gasoline |
| Transmission: | Manual |
| Drive type: | 4WD |
| Interior color: | Toyota Coral Red |
| Drive side: | Left-Hand Drive |
| Vehicle Title: | Clean |
| Item location: | Panama City, Florida, United States |
1967 Toyota Land Cruiser Additional Info:
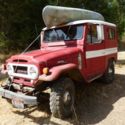
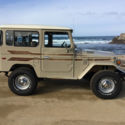
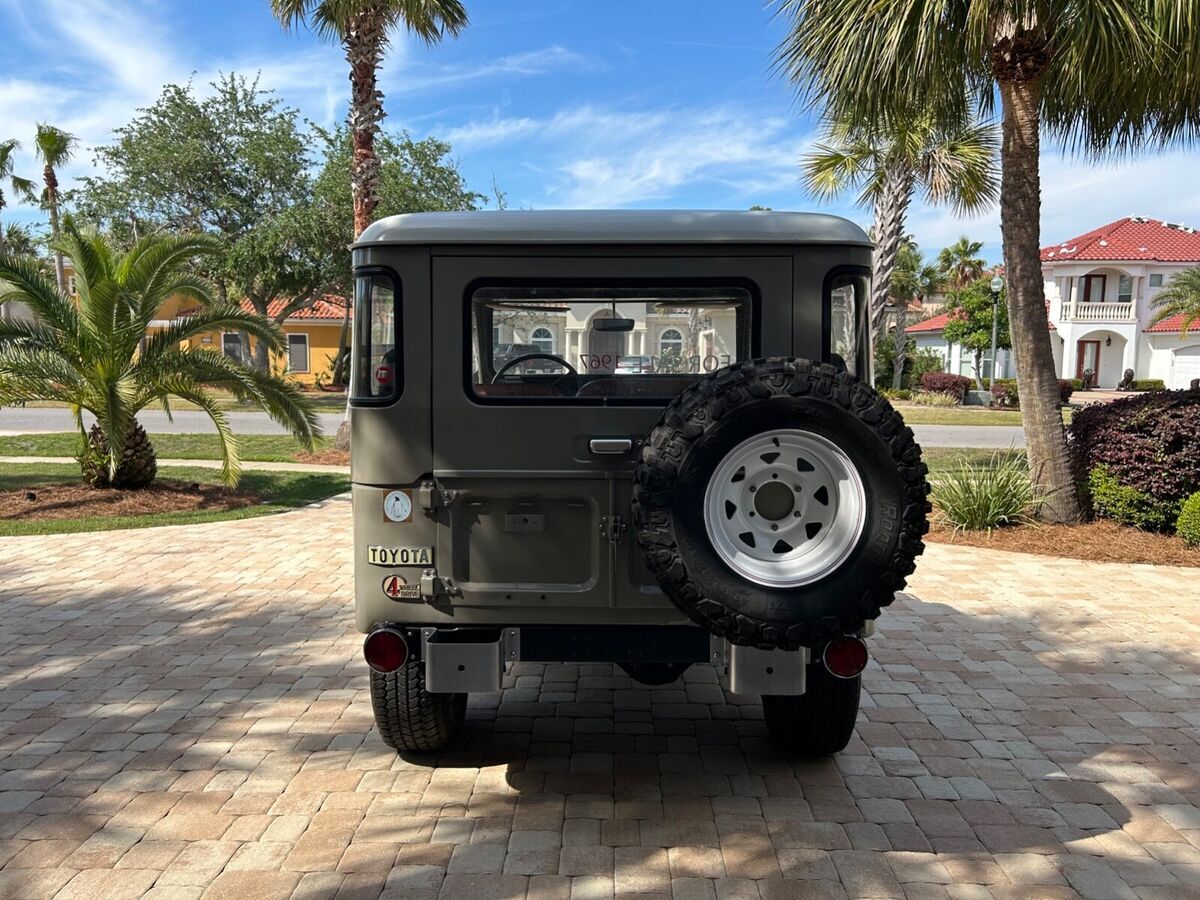
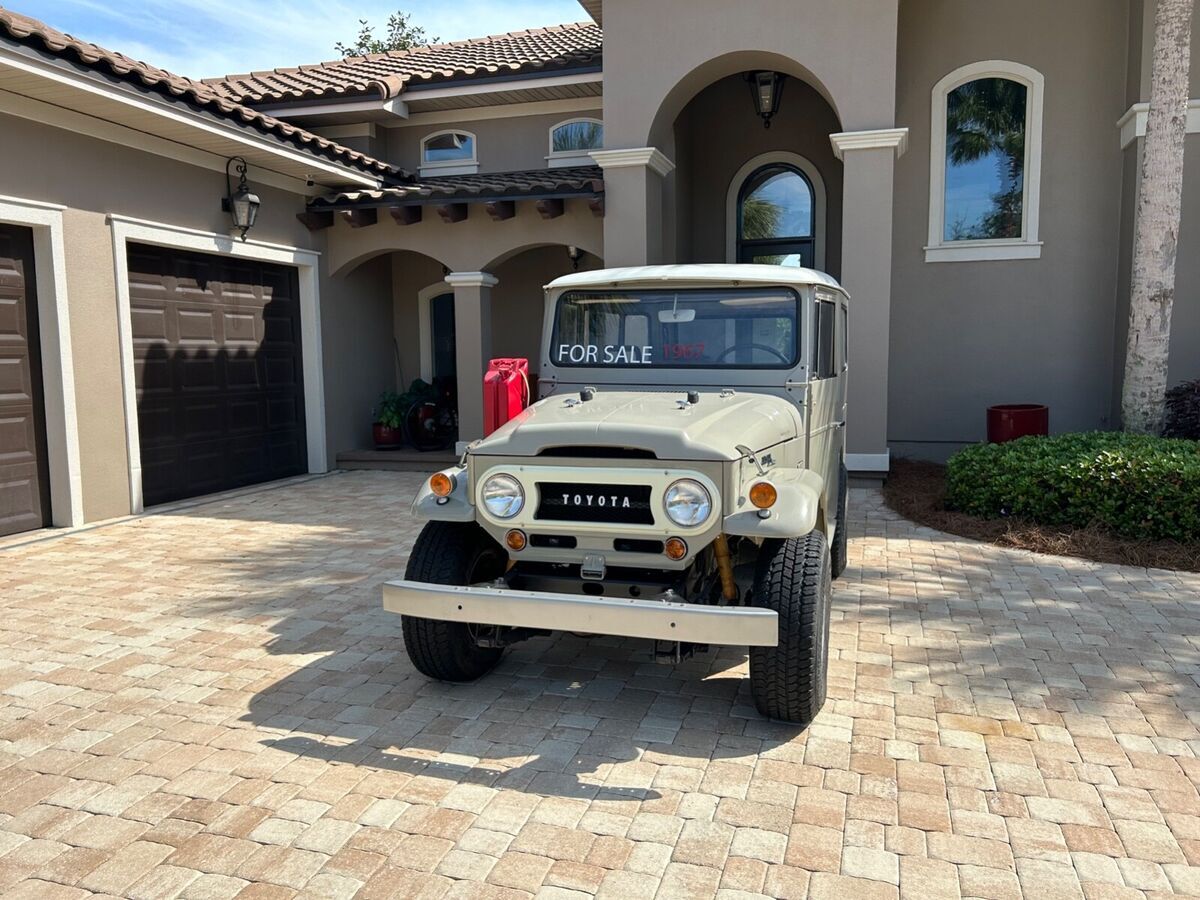
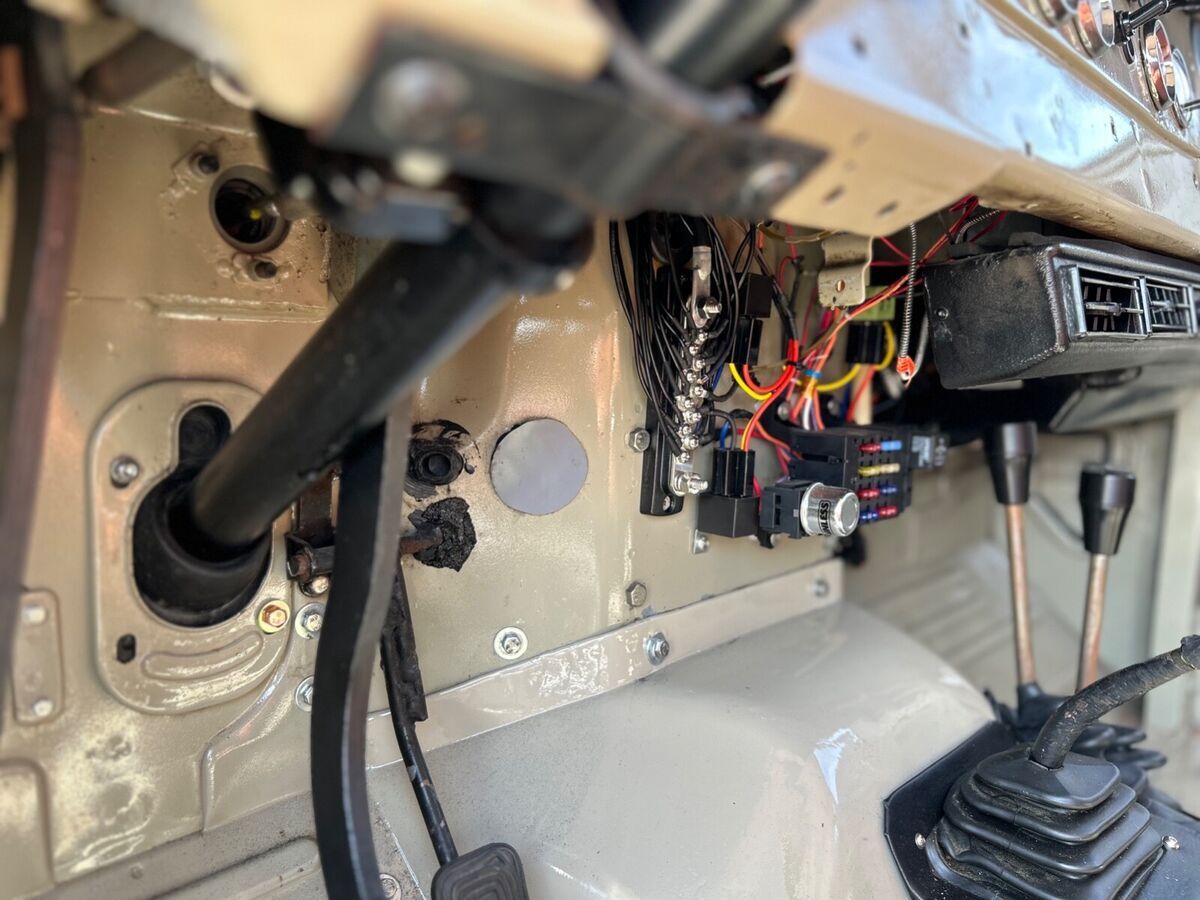
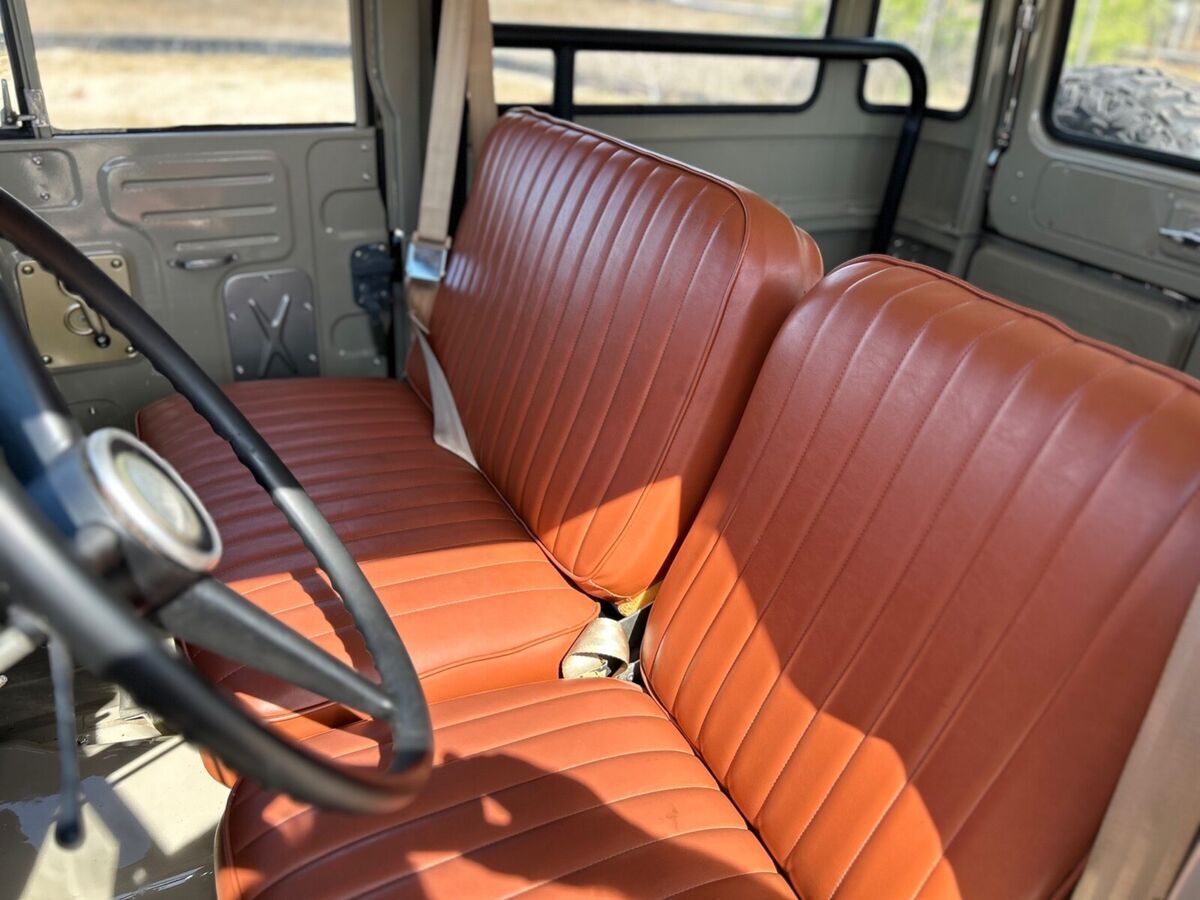
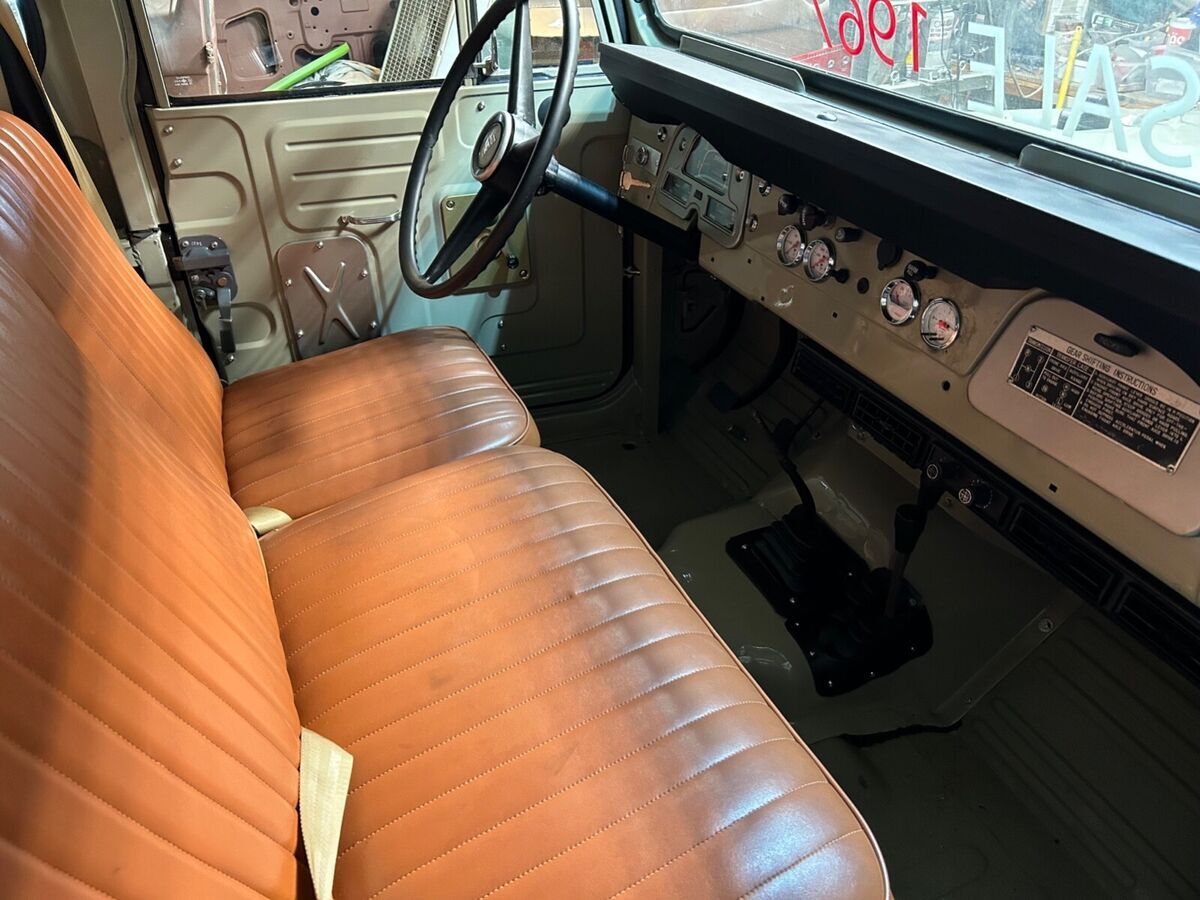
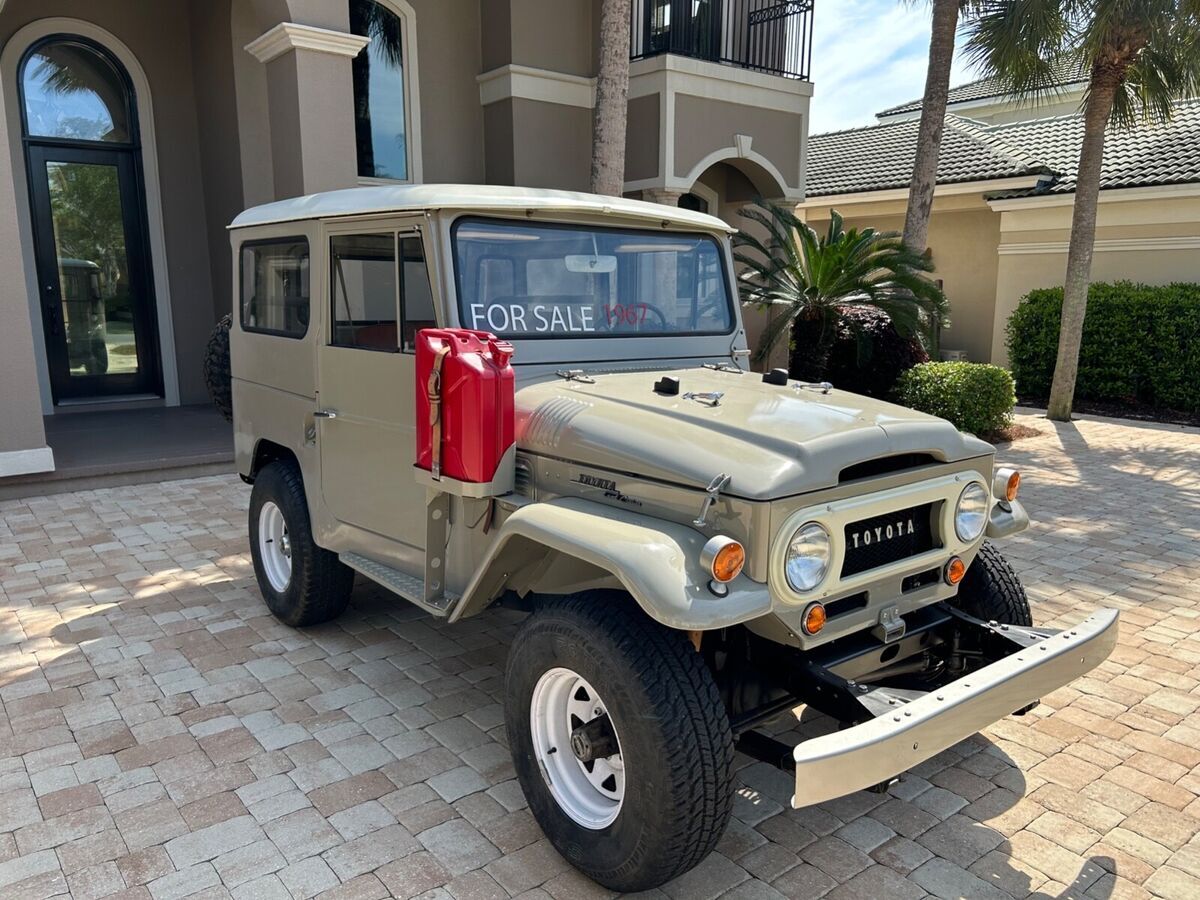
Up for your consideration is my Toyota Dune Beige1967 Toyota FJ40. Let's get into it...The Origin:I have owned this beast for 14 years. When I first purchased it it was located in Las Vegas and despite the dry desert environs it had a little bit of rust on the tub. It also was suffering from an poorly executed small block chevy conversion that leaked, smoked and vibrated like an out-of-balance washing machine. Despite all of that, my brother and I drove it from California to Florida with minimal drama (the only thing that failed was the alternator). We went West first just so we could say we drove it from California to Florida...Step 1: Putting in a More Suitable EngineThe first order of business was to replace the tired engine with a rebuilt Chevy 5.0 out of a GMC truck. It was bored .010 over and rebuilt with new cast pistons, reconditioned rods and crank and freshly rebuilt stock-ish heads. It has a Crower truck/rv cam, stainless-steel headers and an Edelbrock dual plane intake manifold and matching 600cfm carb. The fuel tank/ sender were replaced with new ones. An electric fuel pump is mounted on the frame rail. A stock coil-in-cap distributor handles the firing duties.Eventually I decided to replace the old-style front-face engine mounts with proper under-header mounts so I had a fab shop in Atlanta accomplish that while also installing a rebuilt Toyota 4-speed(original was a 3 speed) transmission and transfer case. We threw away the now undersized stock radiator, and installed a larger two-row aluminum one sourced from Cool Cruisers of Texas. Also, after fighting with various pulleys and belts, I installed a GMPP serpentine unit and a new alternator. An Advance Adapters kit marries the Chevy stuff to the Toyota parts. I ran the truck like that for a year while saving up for the big frame-off resto.Step 2: The Main RestorationMy brother found a tub off of an ’71 out in Phoenix so it was shipped to his shop in Florida for prep work. He is a pilot and races cars so of course he has a workshop. The tub was soda blasted to bare metal and two dime size rust holes were patched. The rear sill (always the Achilles heel on these rigs) had previously been expertly replaced so we left it alone. Metal prep (Eastwoods Corroseal) was forced in to the seams to neutralize any rust there and seam sealer was applied to all panel intersections. The tub was then put on a rotisserie and primed using the Nason paint processThe underside of it was painted with 3M rubberized (applied with a Shutz gun, not the cheap spray can stuff) undercoating for protection from stones. If I was to do it again I would have shot the underside of the front fenders as well...live and learn. All of the remaining sheet metal was prepped and primed as well and then each piece was painted with the Nason single-stage system in 1971 Toyota Dune Beige (paint code 416). It was my first attempt at paint but I’m pretty proud of it although there is one small run and some orange peel. The beauty of the Nason single-stage is that if you run a tree branch down it, you can simply scuff and reshoot it. The fiberglass top was repaired and all of the pesky captured nuts in the metal rain sill were repaired or replaced. I glassed in an additional layer of cloth to thicken it up just that much more. the top was then shot in the period correct Toyota Cygnus White, and a new headliner (from Spector Offroad) was installed.While the body was off of the truck the axles were rebuilt and a JT Outfitters disc brake conversion was fitted to both front and rear. The original Warn hubs worked fine so they were not touched. The JTO brake setup includes an FJ80master cylinder and brake booster. Oh, of course all new lines were installed as well. This took the truck from a single circuit/drum setup to a dual circuit/ boosted/disc brake setup. (Note: The parking brake does not work. When I initially installed it it barely worked. After a couple instances of a broken cable I have given up on it and just park the truck in gear). The frame was simply touched up as it was in good shape. This completed most of the mechanical restoration so the tub was reinstalled with all new urethane mounts and rubber weatherstripping. Stainless hardware keeps all of the shiny parts together (most of which is Marine Grade 316 for maximum corrosion resistance) and all new lights and trim badges fell neatly into place. All of the chrome was sent to Librandi's Plating and Polishing in Harrisburg, PA to be restored and re-chromed. My brother sends all of his work there and they do an amazing job...albeit not cheap (around $2,000).Step 3: Interior Restoration and Trim WorkAs far as the interior goes... well, most of it has been completely refurbished as well. The seat frame/backs were sand or soda blasted and repainted in the correct silver/pewter (paint was from Cool cruisers of Texas). I found a guy out in Oregon that remakes the seat covers in the correct Coral Red color so on they went, both fronts and the rear bench as well. The ratty seat belts were thrown away, and new three-point harnesses were installed. A “Mark Vickers" dashbox and an overhead visor/organizer round out the tidy interior. I installed brand new windshield wiper motors, arms and bladesA new Painless Wiring harness shuffles the electrons to the right places and the new 63amp internally regulated alternator provides the push. Note: My brother recently reworked the wiring harness and went totally overboard. He makes fuel injection harnesses and has some cool ideas about wiring. The Painless harness only runs to the firewall where it connects to two thru-firewall harness connectors (from Maven Performance). From there all of the wiring is made up of Tefzel aerospace-grade wiring (Mil spec Mil-22579) of different gauge to run power to the various lights and sensors,etc. This is all spun in a concentric-twist wiring harness, with internal ground(s). That is...the grounds all run back through the harness, and are grounded to a stainless-steel block on the interior side of the firewall. There are zero external/periferal grounds. All switches are new, and all of the connectors are Duetsch DT which are waterproof, expensive, and top notch. The wiring is as fantastic as the original Toyota one was awful.Along the way we decided to add air conditioning which involved changing the serpentine setup to included a mount for the compressor, and installing a Vintage Air conditiong unit. That decision required a reshuffling of the dash as the evaporater/ blower unit would intrude on the vacuum 4wd shift mechanism, so we bought a kit to floor mount all of that.Note that the odometer did not work when I picked up the vehicle. It was fixed and is working but as such the current 33,000-34,000 miles is not accurate and understates, to an unknown amount, the total miles travelled. I am not sure how much of a consideration this is or should be given it was a complete frame-off restoration with the aforementioned major changes to the mechanical components.Clear, clean Florida title in hand.Need More InformationYou got questions? My brother and I havegot videos, pictures and you can connect with me. My brother is bar far the best equipped to answer any technical questions. You can see who you are dealing with by checking me out on various Social Media or via my watch business (Dr4industries on eBay / Dr4watches elsewhere). As you can see by my inventory and reputation, I am known as a timepiece expert and eBay is may main source of timepiece business.The Final Word:If you are looking at this then you are likely familiar with Icon which is the gold standard of FJ40 and similar rebuilds. This is not an Icon quality rebuild but it is 85% of an Icon effort and I know what this rare 1967 version in a quality rebuild is worth. I am not in any hurry to sell but would love to have somebody use the TLC the way it shold be used... versus me or my brother's twice a month run up to the Waffle House.We are not into“tire kickers” but if you are in the Florida Panhandle the car is easily shown. Candidly, I see this being used in the Mountains or on the beach in California where the utility, beauty and retro-esthetic will be fully appreciated."It is what it is" which is to say a very high quality, frame-off restoration made just modern enough to enjoy frequently but in keeping with the best attributes and aesthetics of the late 1960's.Payment DetailsContinental USA buyers and shipping only.5% Non-Refundable Deposit (via Zelle or Wire or direct through eBay) required to hold the vehicle. Remainder due within 7 business days via wire to my Wells Fargo account. Wire must fully clear before taking delivery. As such, plan on taking delivery approximately one week after the buyer pays in full via the second payment via Wire to my Wells Fargo account or again through eBay.Shipping is the repsonsibility of the buyer and local pick-up is available in Panama City Beach, Florida.Please send any questions through eBay or through my Dr4watches portal. Additional pictures, video, detailed discussions can be had if, when and as appropriate.Kind regards,Steve