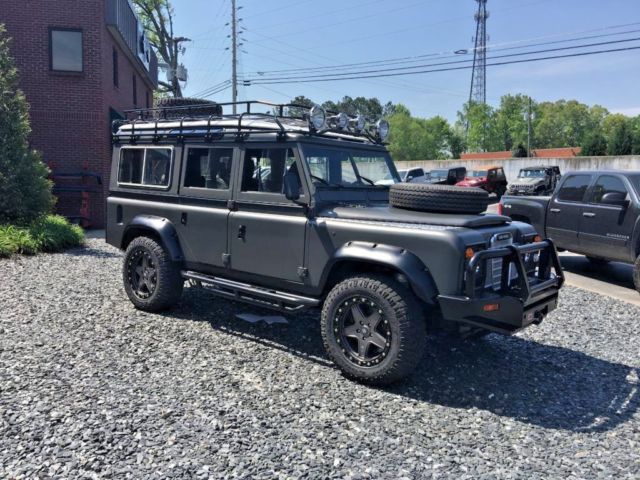
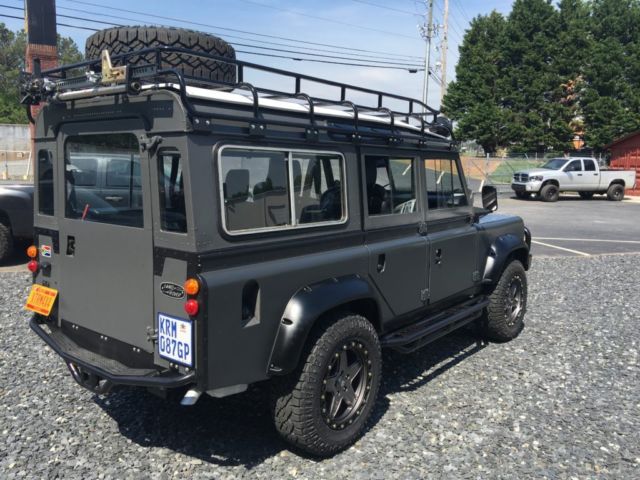
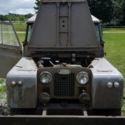
1969 IIA Land Rover on 2010 Land Rover L4 Chassis
| Make: | Land Rover |
| Model: | LR4 |
| SubModel: | Land Rover |
| Type: | Cab & Chassis |
| Year: | 1964 |
| Mileage: | 42,000 |
| VIN: | 4025012K6501 |
| Color: | Gray |
| Engine: | 5.0 |
| Cylinders: | 8 |
| Fuel: | Gasoline |
| Transmission: | Automatic |
| Drive type: | 4WD |
| Interior color: | Gray |
| Drive side: | Left-hand drive |
| Vehicle Title: | Clear |
| Item location: | Alpharetta, Georgia, United States |
1964 Land Rover LR4 Additional Info:
1969 Series IIA Land Rover
For a build like this we need two donor vehicles, the Classic(1969 Land Rover Series IIA) and the Modern (2010 Land Rover LR4). We purchased the Series IIAfrom a diplomat in DC who brought the vehicle back from South Africa. The LR4 is really the heart of the project. We changed all the fluids, belts, and hoses, installed new CV axles, new plugs, and air filters, and installed a new exhaust system. (Wheels/tires, and lights also new)
We have kept is much of the functionality offered in the LR4 as we could. The dash and steering wheel functions, four wheel drive, seating and drivability of the vehicle are all LR4. We’ve reworked some of the interior to work in the new body and have created trim panels to finish off a clean comfortable look and feel.
We have documented the build so you can see what went into the integration of these two Land Rovers. As you will see in the photos it wasn’t a matter of just taking off the LR4 body and putting the Series IIA body on the LR4 chassis.After a few days of measurement and planning we started out by cutting away the parts of the LR4 that we were not going to need. What remained was the complete Chassis including the frame, suspension, and running gear. On the inside we kept the floor pan, firewall, dash, steering and pedal assembly, center console, and all thee rows of seats and the rear Heat and AC system.
Before we start to fit the Series IIA body we need to address the differences in the two wheelbases. The LR4 is 23” longer and 02” wider then the Series IIA was. The width was resolved with trimming and installing front and rear fender flares. (This also supports the added room we needed to fit the larger tires.)To address the wheelbase issue we cut the frame and removed the unneeded inches, we sleeved it and welded in back together, than shortened lines, exhaust, and the rear driveshaft.
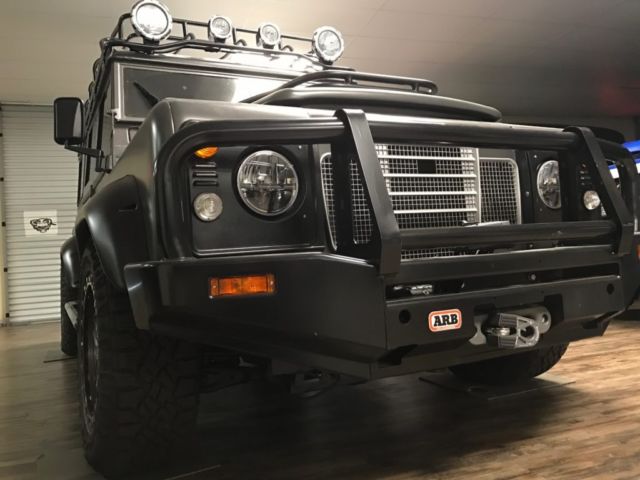
It was now time to start fitting the Series IIA body. We started with the front cowl and windshield. To get the positioning we were looking for, we need to cut the LR4 dash and reroute the heat and air ducts. After a few days of cutting and plumbing we had our fixed point to build from.Things under the hood fit but had to be repositioned a bit. We trimmed the inner fenders and built new inner fenders that we integrated with the LR4s chassis. To center the front wheels and make room for the complete LR4 engine bay including the stock radiator and AC condenser, we stretched the front end (fenders and hood) and reworked the front grill. Then we re-mounted the under the hood components along with the new inner fender wells and fabricated access panels on the flat tops of the fenders.
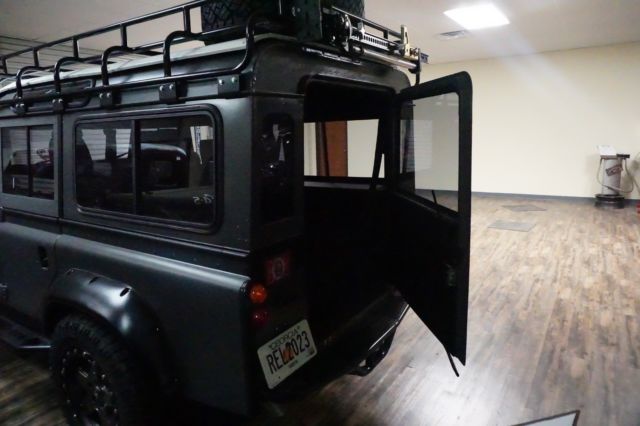
An ABR front bumper was mounted with a S/B 9500 winch with synthetic winch rope. The rear bumper came from Rovers North providing a clean classic look. We finished off the exterior with a full length roof rack make by Voyager Off Road. Although we kept a stock looking spare tire and wheel mounted to the hood, we also mounted a spare wheel and tire on the roof rack that match the ones on the Series IIA/LR4.
Once completely dry fit it was time to disassemble and send out for paint and interior. We tried to keep the Series II look and feel as close to stock as possible. We would normally install power windows and door locks on our TWC conversions, but with the sliding door glass we left the stock configuration.
We feel that this new Series IIA/LR4 should be as comfortable on the inside as possible. That’s why we usedmuch of the LR4 interior. We reused the dash and all components except for the Audio system. (With the reduced depth of the original LR4 dash the head unit would know longer fit) We completed the fit and finish with custom panels and seamless integration between the two donors.
Buyer is responsible for vehicle transport.
$5000.00 deposit is required within 48 hours after the close of auction. Paypal is available for the deposit.
Track Page Views With
Auctiva's FREE Counter
